|
|
Image File Preparation |
You can easily digitize a printed image using an image scanner or a digital camera. However, using a digital camera in not recommended because digital cameras (or conventional optical lenses) has nonlinear distortion around its optical axis, which can not be corrected by this software. When you use a camera, it is better to use only 1/3 of its image field to reduce the distortion.
Resolutions between 300-400 dpi is the most optimum for scanning a graph. 6M pixels are required for digital camera considering to use a part of its image field. Most of standard image formats are supported by PlotDigitizer X, so that you don't care much about it.
PlotDigitizer X can trim a loaded image, however, you'd better adjust contrast and brightness of an image before reading.
PlotDigitizer X can read a PDF file directly. If it contains plural pages, a page selection dialog will be appeared on reading. PDF file is a scalable (no jaggy appears on zooming) image format, PlotDigitizer X converts it to a raster (consists of pixels) image with default magnification of 400% (you can change this value within the preferences setting). PlotDigitizer X can trim a loaded image, so that you don't need any preparation even if your target graph is only a part of a large PDF page.
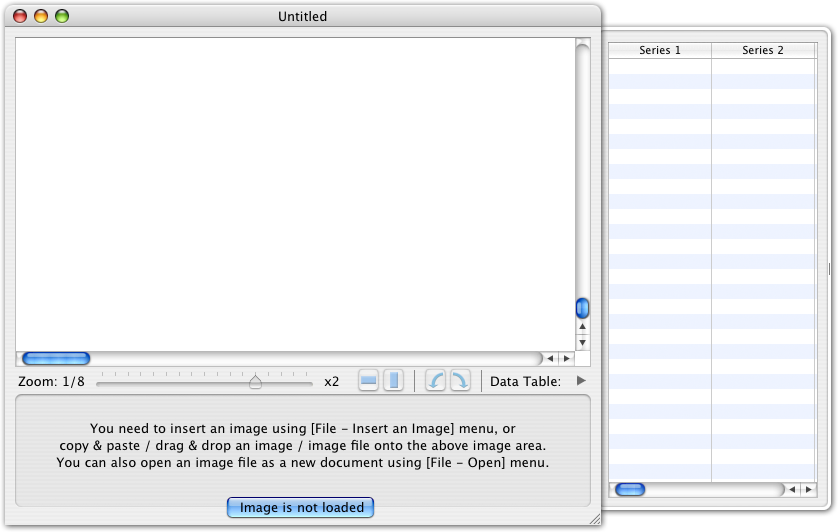
On launch PlotDigitizer X, an untitled window shown below appears.
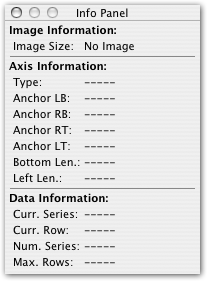
At the same time, an information panel shown below appears. Details about the information panel will be explained later in the [Digitizing Plot Data] topic.
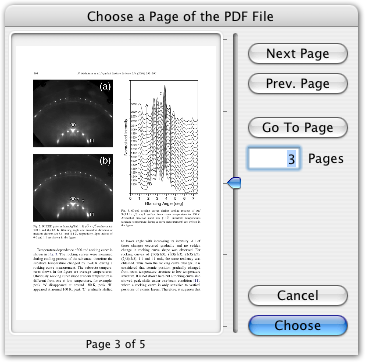
As written in the window, you can read an image file using [File - Insert an Image File] menu or drag & drop a file onto an image area (white large area in the window) from Finder. If the image contains only one page, the image is read immediately and appears in the image area with default axis setting. If it contains plural pages, a page selection dialog (shown below) appears. Select a desired page using a slider or buttons, and press [Choose] to read the page.
In addition to the above way, you can open an image file with [File - Open] menu which creates a new document with the image.